If your website utilizes Wordfence’s two-factor authentication, you are likely required to activate it after your initial successful login attempt upon enabling this feature. To activate the two-factor authentication on your account and prevent unauthorized access, please follow the steps outlined below.
NOTE: When two-factor authentication (2FA) is enabled on your website, accounts are granted a grace period to activate the 2FA. Activation must be completed on the first successful login attempt. Failure to activate 2FA will result in the account being locked out. If this occurs, please contact our team to adjust the account’s grace period.
Step 1 : Navigating to WordFence #
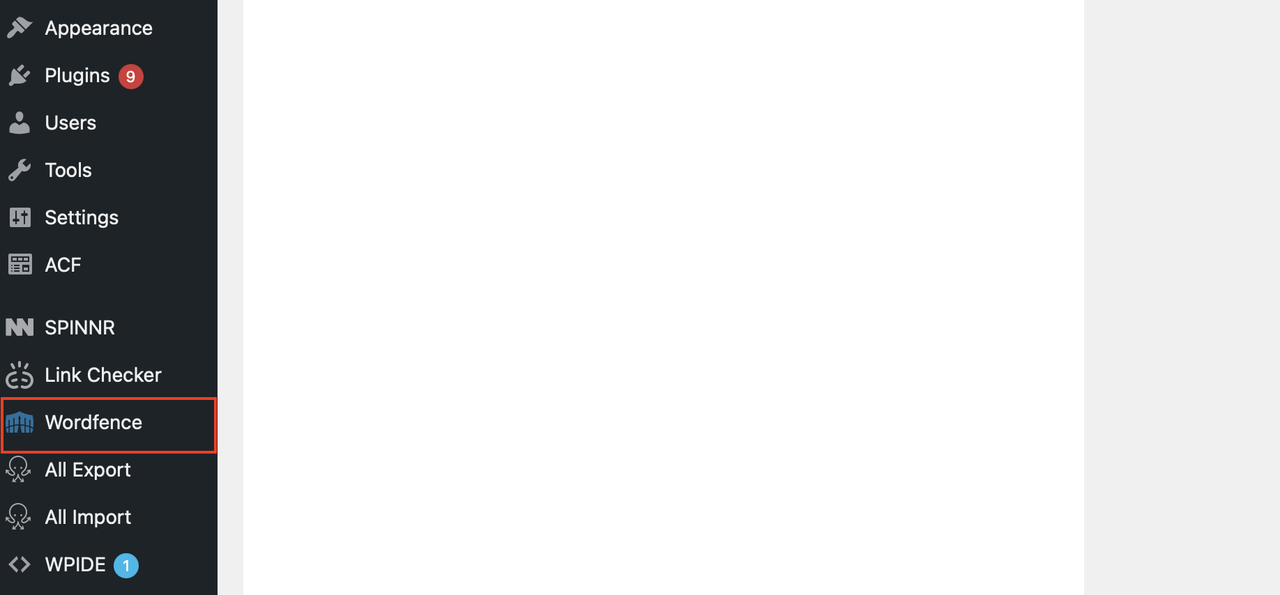
Access your website’s dashboard. Upon successful login, navigate to “Wordfence > Login Security.” In some instances, “Login Security” may be directly displayed within the sidebar menu.
Step 2: Downloading Authenticator App #
Download an authenticator tool such as “Google Authenticator” from the respective app stores on your mobile device, either the iOS App Store or the Android Play Store.

Step 3: Adding 2FA Entry #
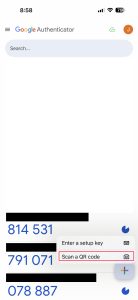
After downloading the Google Authenticator application, proceed to sign up or log in to your account. Subsequently, click the “+” icon and select “Scan a QR code” from the available options.
Step 4: Activation of 2FA on website #
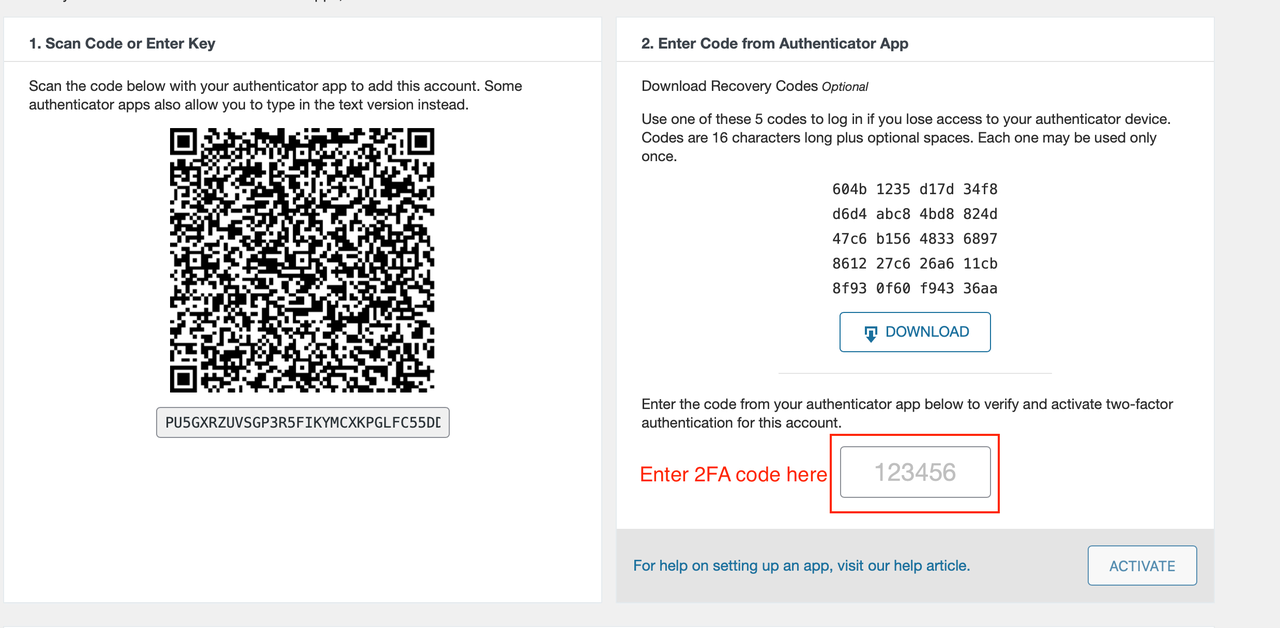
Upon scanning the QR code, you can now initiate the two-factor authentication process. Enter the code provided in the input field on the right-hand side and click the “Activate” button.
You can also check the instructional videos on YouTube that could be beneficial in configuring Wordfence.


